Prerequisites
- You should have the Joyous app installed in your Okta organization. If you don't have the app installed yet, follow the steps below:
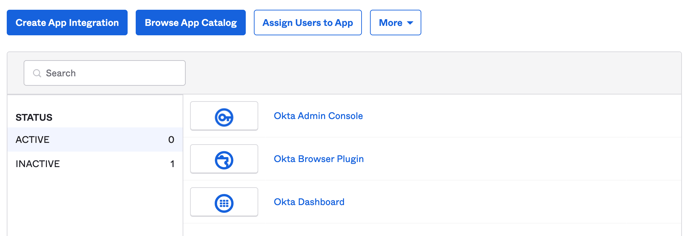
- Click on Browse App Catalog in the Applications section of your Okta admin account
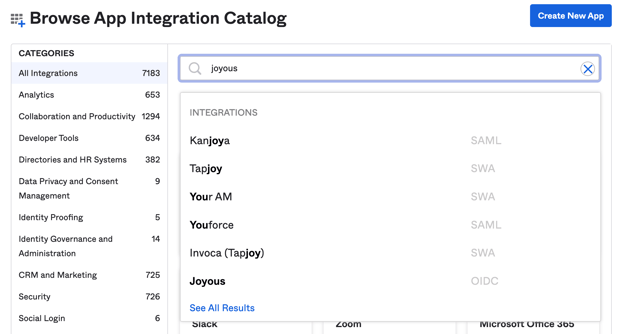
- Search for the Joyous app
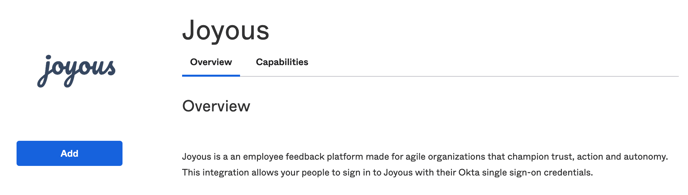
- Add the Joyous app to your Okta organization
- Click on Browse App Catalog in the Applications section of your Okta admin account
Supported Features
-
SP-initiated SSO
-
Joyous does not currently support user provisioning via Okta
Procedure
Once you have the Joyous app installed, your Okta admin needs to get some information and send it to the Joyous integration team:
- On the Okta Admin page, select the Joyous app and navigate to the Sign-On tab
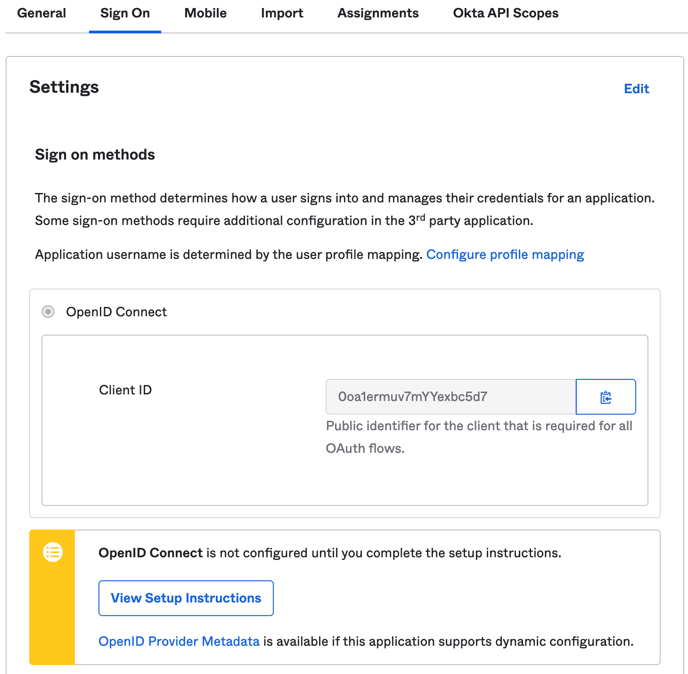
- Copy the Client Id value
- Click the Open ID Provider Metadata button to display a JSON document, and copy the issuer URL value
- Send your Client Id and OpenID Issuer URL to the Joyous integration team, or to our customer support team (support@joyoushq.com)
The Joyous integration team will notify you once configuration has been completed.
Troubleshooting
If you have any issues with the configuration procedure, please contact our customer support team (support@joyoushq.com).